Mill Hill Cottage Plumbing & Heating Ltd(Previously Heating Innovations)
|
|||
| Dry Well Thermostat Installation | |||
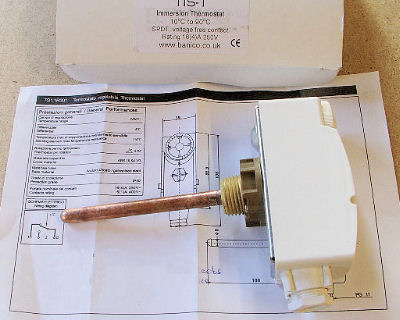
Contents of the dry well thermostat box
|
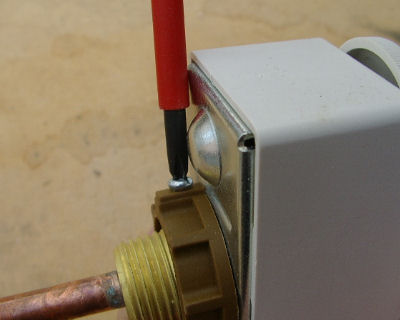
Loosen the dry well pocket retaining screw and.....
|
||
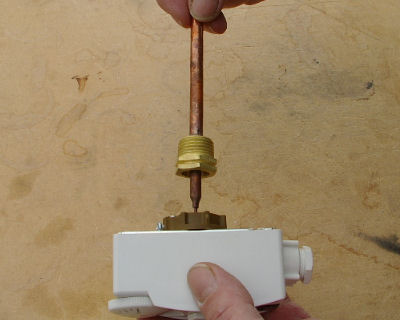
Carefully slide the dry well pocket off the copper bulb sensing element. Please handle with care. The dry well pocket has a 1/2 inch BSP male thread so I will need a female fitting to screw it into.
|
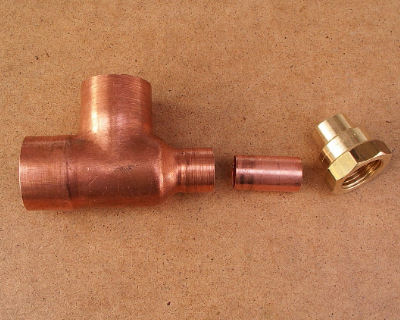
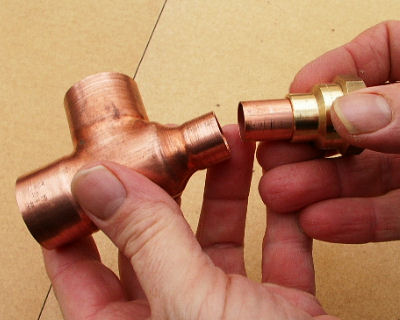
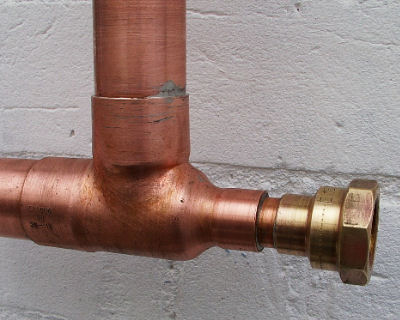
To accommodate the dry well pocket into the solid fuel flow I am going to use a 28x15x28 tee, one end reduced, a standard 15mmx1/2 inch straight female connector and a short piece of 15 mm pipe (length of the pipe will vary depending on what type and brand of fitting you are using) I could have used a male connector and gone straight into the tee, but did not have one available |
||
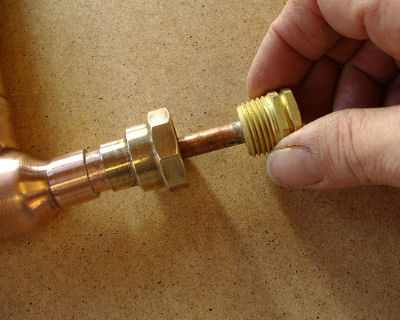
introduce the pipe to the brass connector and the pipe to the fitting.
|
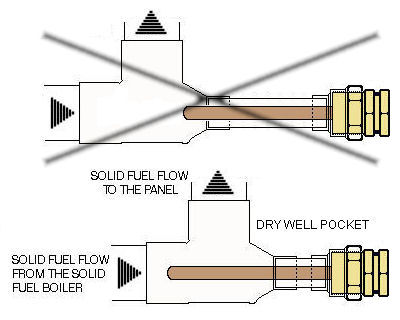
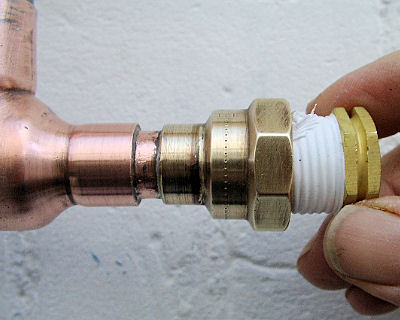
To ensure the thermostat is as responsive as possible it is important that the dry well pocket is right into the solid fuel flow, as in the diagram below. Before I start any soldering I check it is sitting correctly by sliding the dry well pocket into the fitting
|
||
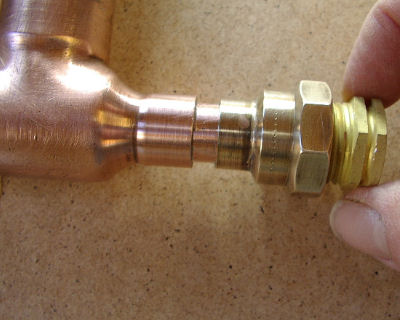
and screwing the dry well pocket into the 1/2 inch female connector. If the well is not right into the flow shorten the 15mm pipe until it is.
|
 |
||
When pipe length is adjusted correctly, unscrew the dry well pocket and solder joints.
|
Wrap the 1/2 inch thread of the dry well pocket with sealing tape and screw into the female fitting
|
||
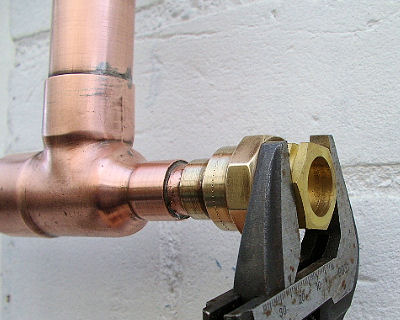
tighten with a spanner
|
Carefully slide copper bulb sensing element into the dry well pocket |
||
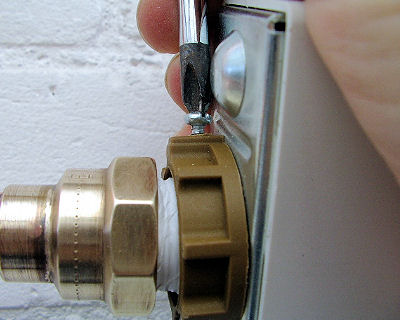
When thermostat is completely home tighten the dry well pocket retaining screw and....... |
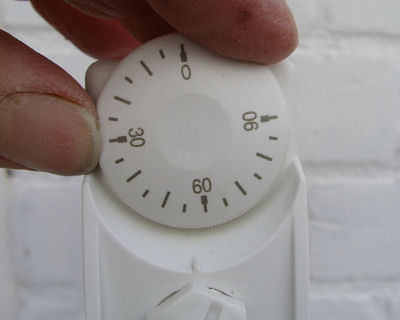
Set dial to 58 degrees Celsius
|
||
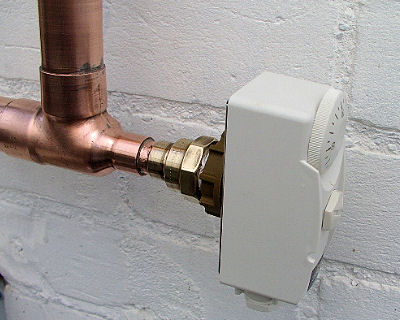
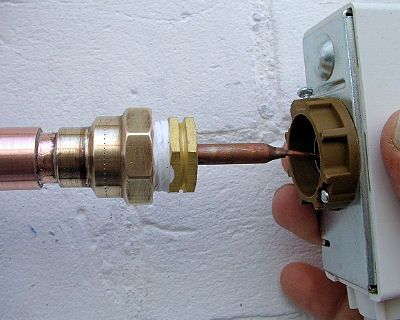
Installation complete we just need to wire the thermostat to the panel. |
|||
|
Contact Mill Cottage Plumbing & Heating Ltd Technical Support and Sales Telephone 01354 653854 |
|||